Getting Started with Cosmos
First login, the Cosmos workspace, navigation, and building your first agent
Updated 2026-11-03
Verified 2026-11-03
Overview
Cosmos is an AI agent platform. From your browser you can connect data and systems, build agents that use them, put those agents in front of users through chat, voice, email, or WhatsApp apps, and monitor how they perform.
Logging In
- Open the Cosmos address your administrator gave you. The sign-in page opens.
- Enter your email and password and click Sign In. If Microsoft sign-in is set up for your environment, the page also shows Login with Microsoft, which signs you in with your organization's Microsoft account.
- If two-step verification is on for your account, the Verify it's you screen asks for the verification code sent to your email.
- If you forgot your password, click Forget your password? and follow the emailed link.
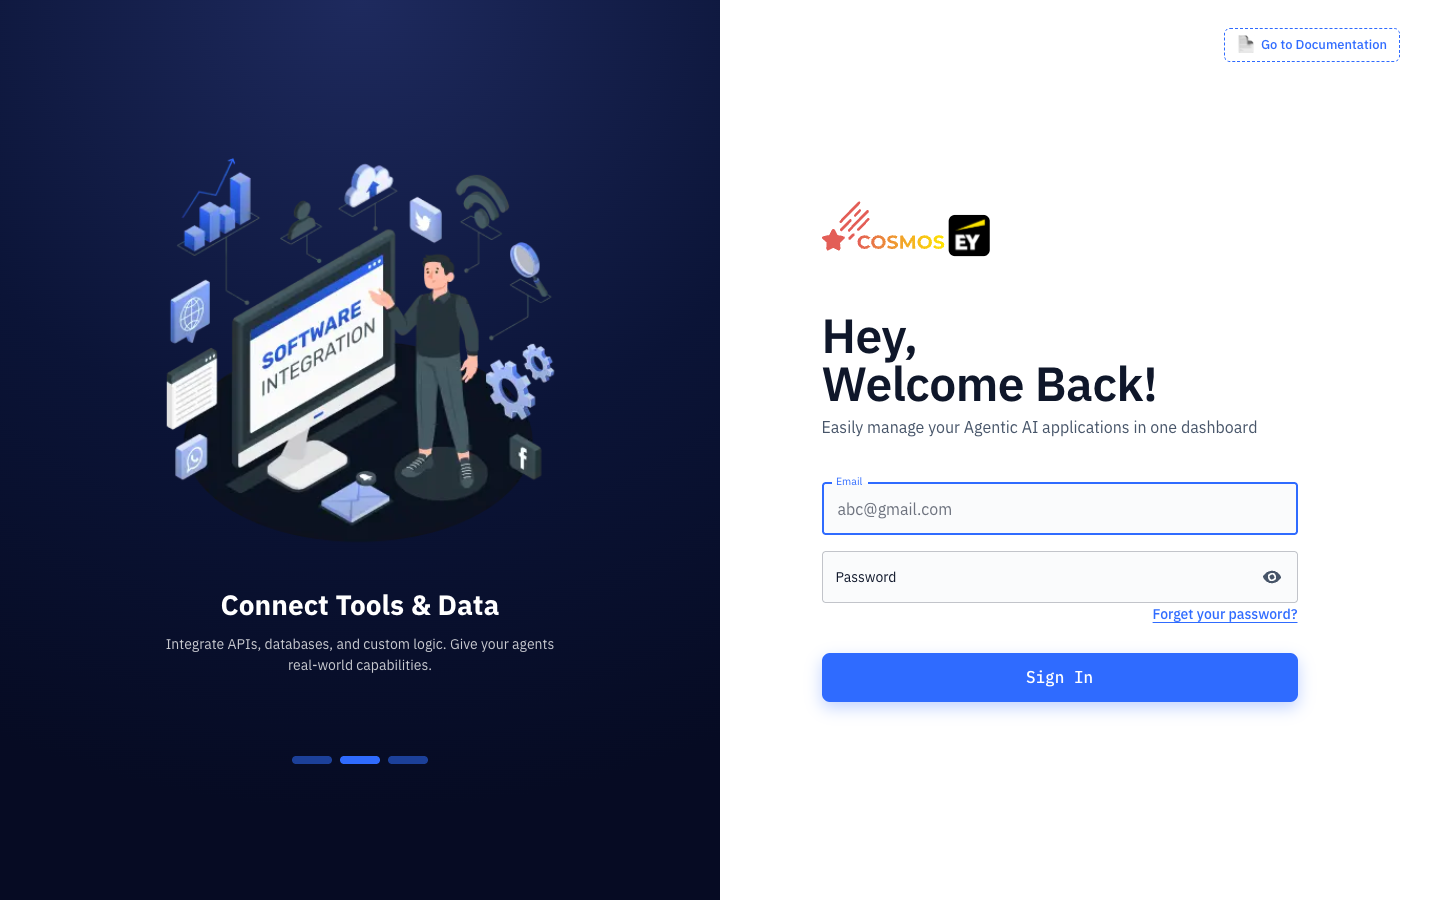
The sign-in page also has a Go to Documentation link to these guides.
First time? Ask your organization admin to add you to an organization. You can turn on two-step verification later from Account security in the user menu.
The Workspace
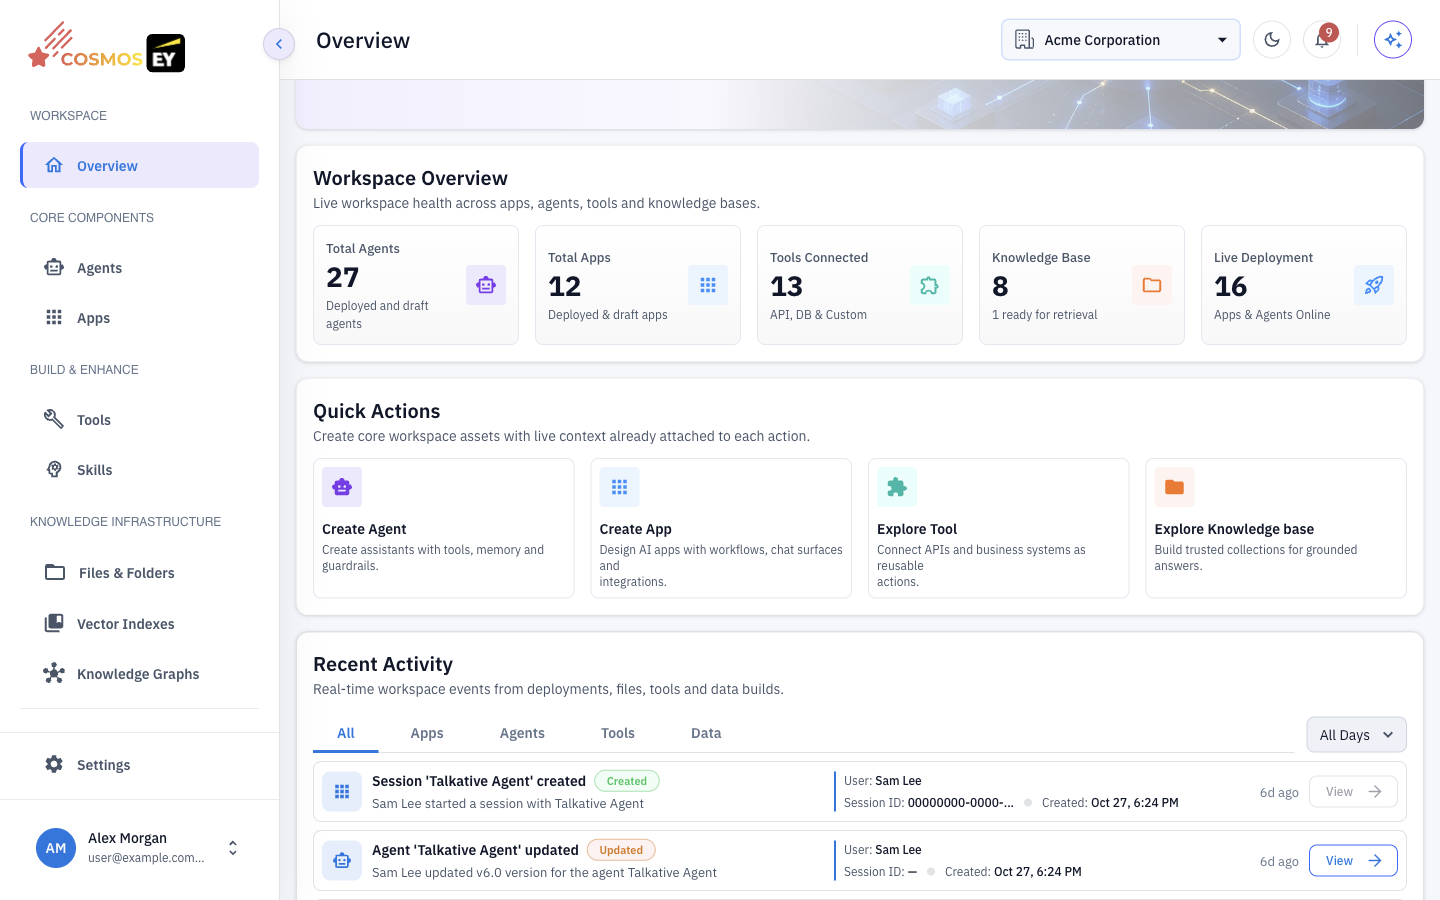
After you sign in, most users land on Apps. Platform administrators land on Overview.
The Overview page welcomes you with Quick Actions (Create Agent, Create App, Explore Tool, Explore Knowledge base), statistics for your workspace, and recent activity.
Organizations and projects
Everything you build belongs to an organization. An organization can be divided into projects that group resources and members. Use the workspace selector in the header to switch organization or project. When a project is selected, lists such as Agents and Apps show only that project's resources.
The header also has the activity bell for notifications and Cosmos Assistant, an in-app helper you can ask about the platform.
Navigation
The sidebar is grouped by task. You only see the items your role allows.
| Section | Items | What they are for |
|---|---|---|
| Workspace | Overview | Start page with quick actions and statistics |
| Core Components | Agents, Apps | Build agents and publish them to users |
| Build & Enhance | Tools, Skills | Actions agents can take and reusable instructions |
| Knowledge Infrastructure | Files & Folders, Vector Indexes, Knowledge Graphs | Documents agents can search |
| Quality & Governance | Evals, Responsible AI | Quality testing, PII protection, and content safety |
| Operations | Observability, Logs, Recent Activity, Expense | Monitoring, session logs, activity, and cost |
| Admin Configurations | Model Garden, Organizations, Users | Platform administration (platform administrators only) |
Settings at the bottom of the sidebar opens Workspace Settings, including cost controls, chat configuration, profile, notifications, and security.
The user menu at the bottom left has Manage Organization (organization admins), Account security, a light and dark mode switch, and Sign out. Platform administrators also see Go to Admin.
Key Concepts
- Organization — your team's workspace. Members share access based on their role.
- Project — a group of resources and members inside an organization.
- Tool — one action an agent can take, such as calling an API, querying a database, or using a prebuilt integration.
- Skill — reusable instructions, optionally with tools and knowledge, that you can attach to many agents.
- Agent — an AI assistant with a model, a system prompt, and the tools, skills, and knowledge you connect.
- App — a deployed agent published on a channel: chat, voice, email, or WhatsApp.
- Vector index and knowledge graph — searchable forms of your documents that ground agent answers.
Your First Agent
- Create a tool. Open Tools, click Create New, and create an API, DB, or custom tool. Test it.
- Deploy the tool so agents can use it.
- Create an agent. Open Agents, click Create New, choose LLM Agent, and fill in the name, model, and system prompt.
- Attach the tool in the Skills & tools step and save.
- Test the agent. On the agent's page, click Test and send a message.
- Deploy the agent, then create an app to put it in front of users.
For details, see Building & Testing Agents.